4 Ways To Make Shaved Ice Must Read Guide (With Videos)
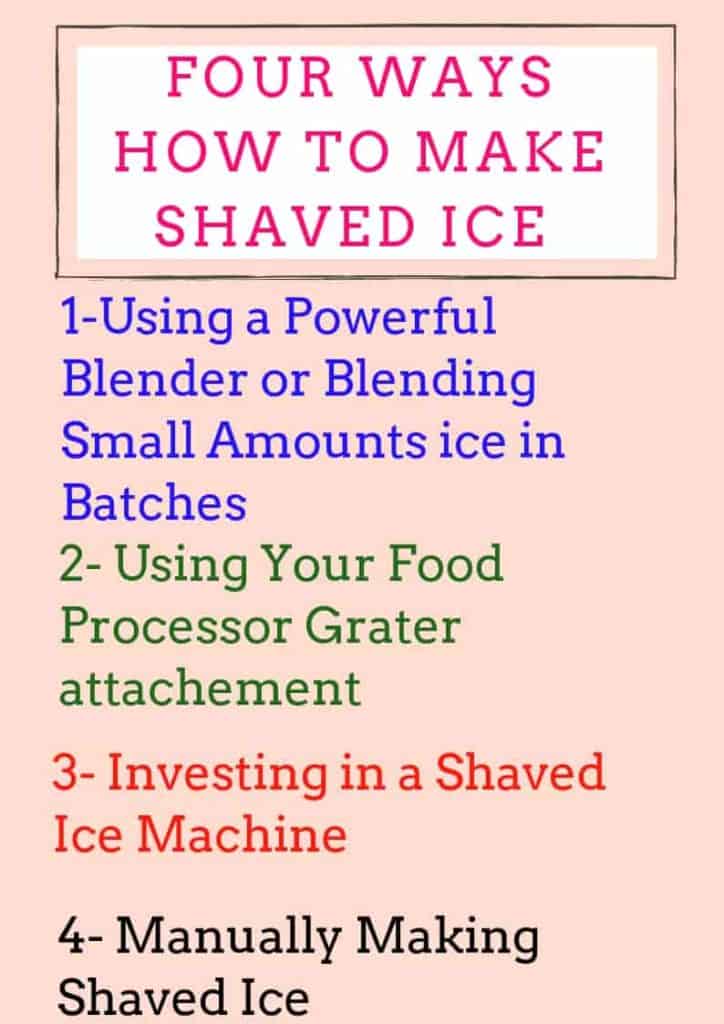
There are basically four main ways you can make shaved ice at home;
- Using a Blender and blending small amounts of ice at a time
- Using a Food Processor with your cheese grater attachment
- Buying a Shaved Ice Machine
- Manually Making Shaved Ice using simple utensils such as an ice shaver
I am writing this article to help guide you on how to make nice, smooth and snowy shaved ice that just melts in your mouth.
Let’s jump into it.
1- Blender
If you just drop ice into a standard blender you won’t be able to make shaved ice, instead, you will get crushed ice meaning they won’t have that soft and fluffy texture, instead they will have a crunchy taste.
I have worked out a strategy that can allow you to make shaved ice pretty fast and reliably in any blender.
- The first thing you need to do is make your ice cubes
, The second stage is that you need to thaw out your ice for 4-5 minutes at room temperature, this is to it makes it easier to blend- Or if you want you can manually crush the ice up before blending, you can do so by putting the ice in an old shirt and hitting it with a mallet
- Secondly, you need to fill your blender up to a quarter way with ice cubes, this is key because if you fill it up too much you won’t get that snowy texture and it will be hard to blend.
- Then press the strongest blending cycle that your blender has
- Blend until the ice cubes are fully shaved.
- Pour out into a container
Drawbacks Of Using a Regular Blender
- This method can only make small amounts of shaved ice that has to be done in batches.
- Can potentially damage the blades and motor of your blender if you try to blend a large number of ice cubes.
- Shaved ice won’t have a consistent texture.
Features of a Good Blender for Shaving Ice
1- Must Have a Glass Container
If your blender has a plastic container, please dont attempt to blend large amounts of ice, instead follow the instructions above by blending small amounts.
You see the ice causes the plastic to get cold and brittle putting your blender at risk.
2- Needs to Have a High Wattage
The wattage equates to how powerful the blender.
The higher the wattage is the better. And usually, this means the blender will come with a higher price.
If you see a $400 blender it usually means it has a high wattage and can blend anything.
Blenders with a wattage of 800 and more are great at blending large amounts of shaved ice and you would get that nice snowy texture.
If it is under that wattage, please blend small amounts at a time.
Professional blenders have glass containers, strong blades, high wattage which equals to a powerful motor which allows them to shred ice so easily, but because of this, they come with a hefty price tag.
Ninja Blender
If you are thinking of investing in a good blender that can make shaved ice and that blends really good. You should check them out the Ninja Professional Blender.
The Ninja Pro Blender is made for making shaved ice, it comes with an 11oo watt motor and blades designed to deal with tough materials such as ice.
I have used it before and it works pretty good the big bonus with is that it is pretty affordable compared to other pricey professional blenders, you can click to see the current price of the Ninja on Amazon.
I found a Video to Show you the Ninja in Action below.
2- Food Processor
You can use your food processor to make shaved ice, this comes with the additional risk of damaging the blades of your processor.
This is more of an issue if you plan to make shaved ice on a regular basis if its just once a month you should be fine.
If you have a blender with a glass container, I think it would be best to stick with a blender to make shaved ice, since food processors usually have plastic containers.
How to Make Shaved Ice with Your Food Processor
- The first thing you got to do is make your ice cubes,
- Then you need to set up your food processor
- My biggest advice on this is to use your food processor’s grater attachment or shredding disc,
- If you don’t have that probably consider buying one
- The disc is what gives the shaved ice, that snow like texture.
- To set it up, you first need to attach the extension stem to the motor, most food processors will come with one
- then you attach the disc onto the stem. (will leave a video below to show you how to attach the grater disc.
- Once you have the grater attachment on, you can just insert the ice cubes in the top part of your food processor and then press on it and presto you have shaved ice.
- Another important tip is that you need to allow your ice cubes to thaw out for 4-5 minutes
- This softens the ice and allows it the shred easier and puts less stress on your food processor.
- You can put the ice inside the container of the food processor you just won’t get that fine texture, also if you put it inside the container please only do small amounts at a time.
If you have a Cuisinart food processor you can click to see a shredder disk that you can use with your food processor
Just ensure that it can work with your food processor or just look around Amazon for the disc shredder that goes with your Food Processor.
Video showing how to attached a Grater Disc
It won’t be the same for all food processors each one would be slightly different but the basic set up is the same.
3- Home Shaved Ice Machine
These are appliances that specialize in making high quality shaved ice right home.
They usually come with powerful motors and strong blades enabling them to make finely shaved snowlike shaved ice that melts in your mouth.
Using a Shaved Ice Machine is probably the best way and only way to make really good shaved ice.
You can check out my article by clicking to see my recommendations on the best-shaved ice machines.
4- Manually Making Shaved Ice Using Simple Utensils.
The Fourth and last way that you can use to make shaved ice requires some good old fashion manually labor.
I know it sounds like a lot of work, don’t worry it is not that hard, instead if you do it with your kids, its a great family activity, think of it as a DIY Family Activity.
I have an entire article dedicated to this you can click to read how to make shaved ice without a machine.
Shaved Ice Ingredients
Shaved Ice wouldn’t be the same without syrups and other tasty toppings.
For syrups, you can read my guide on the best shaved ice syrups.
These syrups are ready to use meaning that you just have to open them and then drizzle it on your shaved ice.
My kids really like the cherry and blue raspberry flavor, I prefer the grape flavor which isn’t too sweet. These flavors taste very close to ones you would get at snow cones and shaved ice stands.
If you are a fan of your shaved ice being nice and milky I highly advise pouring some condensed milk on top, alternatively you can add evaporated milk.
Now if you are feeling good and want to treat yourself or your kids, you can mix your shaved ice with ice cream.
Why You Should Make Shaved Ice At Home
- Nice treat to cool down in the summer’s heat
- Ideal Snack for parties
- Fun family activity both making it and eating it
- Low-calorie Snack because shaved ice is majority ice, which is just water, it can have the minimum if not zero calories depending on your ingredients
- Keeps you hydrated because its frozen water shaved ice will keep you hydrated and help you get that 8 glasses a day
- Great Alternative to Storebought Sodas