14 Easy & Healthy Snow Cone & Shaved Ice Syrup Recipes
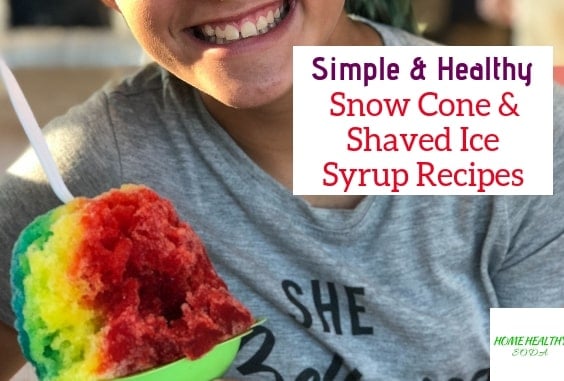
In this article, I would like to share with you 14 of the Tastiest Snow Cone Syrup Recipes.
Let’s jump into it.
1- Natural Pineapple Snow Cone Syrup Recipe
If you are looking for a natural and tasty recipe then these three syrups are for you. You can check out how it’s done in the video above.
Ingredients:
- 1 Cup of Chopped Up Pineapple (5 oz or 150g)
- 3 Tablespoons of White Sugar
Instructions:
- Firstly, add your sugar and chopped up pineapples to a pan
- Turn the heat to medium-high
- Next, use a spoon to mash the pineapple up into the sugar
- Let it simmer for 3-4 minutes
- Now turn off the heat.
- You can then place the sauce into either your blender or your food processor to be blended up
- Finally, allow the pineapple syrup to cool down completely, and then you can pour on top of your shaved ice.
- I have a video above to show you how it is done.
2- Natural Raspberry Snow Cone Syrup
Ingredients:
- 1 cup of raspberry either fresh or frozen
- 3 tablespoons of white sugar
Instructions:
- Place your raspberry and sugar into a pan and turn your heat to medium high
- and let it simmer for 3 minutes whilst continuously mashing the berries up with a spoon.
- then place the sauce into your blender or food processor to be blended up
- Next, allow the sauce to cool completely
- and then pass your syrup through a sieve or fine mesh to remove all the seeds
- Finally, you can proceed to serve with your ice.
- If your syrup is too thick you can always add some water to make it more smooth.
3- Natural BlueBerry Snow Cone Syrup
Ingredients:
- 1 cup of blueberries
- 3 tablespoons of sugar
Instructions:
- Mix the blueberries and your sugar into a pot
- And leave it to simmer for 3 minutes whilst mashing it up using a spoon
- Next, place your sauce into a blender or food processor to blending up
- Finally, allow the syrup to cool and filter it through a sieve or fine mesh to remove all the seeds from the blueberry
- Once cooled and all the seeds are removed serve on top of your shaved ice.
Note on these 3 recipes
- If these syrups are too thick you can add water to make it more syrup like
- also, you can adjust the amount of sugar to control the level of sweetness.
- These recipes were inspired by the video below all credits to her.
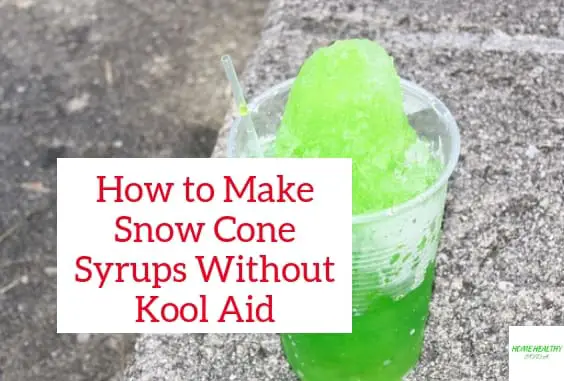
4- Kool-Aid Snow Cone Syrup Recipe
Using Kool-Aid to make Snow Cone Syrup is probably the easiest and most popular method around, but there is an art in how you make it.
Ingredients:
- 1 cup of white sugar
- 1 cup of water
- 1 packet of Kool-Aid unsweetened Mix
Instructions:
- Add 1 cup of sugar and 1 cup of water to a pot and bring it to a boil
- let it boil for 1 minute,
- this is important, let it only boil for one minute if not your syrup will be too thick
- after that one minute of boiling proceed to add and mix the packet of the flavor of Kool-Aid of your choice
- Let it cool completely before serving with your ice.
- I found a short video on how to make the Kool-Aid syrup you can check it out down below
- In this video, he says to boil the syrup for two minutes though I have found that the syrup is too thick after two minutes
- so I advise to only boil it for one minute.
You can click to see how it’s done in this video.
5- Watermelon Snow Cone Syrup
Ingredients:
- 3-4 cups of watermelon
- 1 tablespoon of sugar (Optional)
Instructions:
- place pieces of watermelon into your blender with a small amount of water around 1/5 of a cup and then blend it up
- You can add sugar before you blend it up if you want your syrup to be extra sweet.
- Remember fruits already have natural sugar so you dont need to overdo it with the sugar
- Next, strain your watermelon syrup through a sieve or strainer to get rid of seeds
- Finally, pour your watermelon syrup onto your ice.
- You can see how it is done in the video below all credits for this recipe goes to her.
6- Natural Strawberry Snow Cone
This recipe is how to make strawberry snow cone meaning the ice itself is made from strawberry, the next recipe is how you make a strawberry syrup.
Ingredients:
- 1/2 cup of granulated white sugar
- 1/4 cup of water
- 6 cups (1 1/2 pounds) of hulled strawberries (meaning all berries have there green leafy top removed)
- 2 tsp of vanilla extract.
Instructions:
- The first thing you need to do is make a simple syrup to do so add your sugar and water to a pot and bring to a boil
- Constantly stir your syrup whilst boiling for at least one minute
- then set your syrup aside to cool down completely
- Next, add your strawberries with your vanilla extract to your food processor and puree until smooth – meaning that no chunks are left.
- Once the berries have a consistent texture add your simple syrup and blend until it is combined
- Finally, once everything is blended you can add your mixture to ice trays and placed in the fridge to be frozen
- Now when your strawberries ice cubes are made you can either blend it up in a blender or you can use a snow cone machine to make your snow cone.
- If you dont want to use blender or a snow cone machine you can see how its done without using either in the video below though its more work
- This recipe was inspired by the video below.
7-Natural Strawberry Snow Cone Syrup
Ingredients:
- 10 ounce (1/2 pound) of frozen strawberries that are thawed out
- 1/4 cup of agave nectar (or you can use 1 cup of simple sugar syrup)
Instructions:
- First, you need to add the thawed out frozen strawberries and your agave nectar to your blender.
- or alternatively, you can use a sugar syrup instead of the agave.
- Now blend until the texture is nice and smooth
- Once blended you can serve on your snow cone.
- You can see how its done in the video below which this recipe was taken from.
8-Passion Fruit Snow Cone Syrup
Ingredients:
- One cup of white granulated sugar
- One cup of water
- 4 tablespoon of Passion Fruit Pulp
Instructions:
- Mix water and sugar together in your pot and bring to a boil with medium to high heat
- then once all the sugar has dissolved you can lower the heat and let it simmer
- then add your Passion Fruit Pulp
- then let simmer for 4-5 minutes until the pulp has dissolved completely
- finally, let your syrup cool down and serve with your ice.
- You can see step by step how it is done in this video.
Where to Buy the Pulp
If you can’t find the passion fruit pulp in your grocery store you can buy it on Amazon click to see the current price.
9- Mango Snow Cone Syrup
Ingredients:
- 3 chopped up Ripe Mangoes
- 1 cup of white sugar
- 1 cup of water
- 1 tsp of vanilla extract
Instructions:
- Add your sugar and water to a pot and bring it to a boil, then let it boil for one minute
- Once all your sugar is dissolved let your syrup cool down completely
- Next, add the chopped up ripe mangoes to your food processor and add your sugar syrup.
- Blend it for a bit and then add a teaspoon of vanilla extract and then proceed to blend until it reaches a smooth texture
- Finally, you can serve your mango syrup with your shaved ice.
10-Natural Banna Snow Cones Syrup
Ingredients:
- Three Bananas
- One cup of white granulated sugar
- One cup of water
Instructions:
- The First thing you need to do is make your simple sugar syrup
- To do this you need to mix 1 cup of sugar and 1 cup of water together in a pot and then bring it to a boil with medium to high temperature.
- Let it boil for one minute just make sure all the sugar crystals are dissolved before turning it off
- Once all the sugar has dissolved let your syrup cool down completely
- Next, you need to add your bananas and your syrup to a food processor and blend until its a consistent texture
- Finally, add your banana syrup on top of your ice
Important Notes
- Bananas can’t handle heat very well so it is important that the syrup is cooled down completely before blending
- Also bananas tend to go bad very fast so this syrup won’t last too long so make sure you eat it all up, though I doubt that will be a problem.
11-Mountain Dew Snow Cone Syrup
Ingredients:
- One cup of sugar
- One cup of Mountain Dew Soda
- Food coloring (Optional)
Instructions:
- Mix your soda with your sugar in a pot and bring it to a boil
- let it boil for 2 minutes, ensure all the sugar crystals have been dissolved
- next, add your food coloring this purely optional but it makes your snow cones look really nice.
- Let the syrup cool down completely before serving on your ice.
- You can see how this recipe is done in this video.
12- Chocolate Syrup Snow Cone
Ingredients:
- Milk (To Make Your Ice)
- 1 cup of water
- 1 and 1/2 cups of white sugar
- 1/2 cup Hershey’s cocoa powder (unsweetened)
- a pinch of salt
- 1/2 tsp vanilla extract
Instructions on the Making the Milk Ice
- The first thing you need to do is make your shaved ice, to do so you can fill up your ice trays with milk and freeze it
- Once the Milk is frozen you can either blend it up in your blender
- or if you have a shaved ice machine you can use it.
- Now if you want to know how I make really good Shaved ice using a blender or a food processor you can click here to read how.
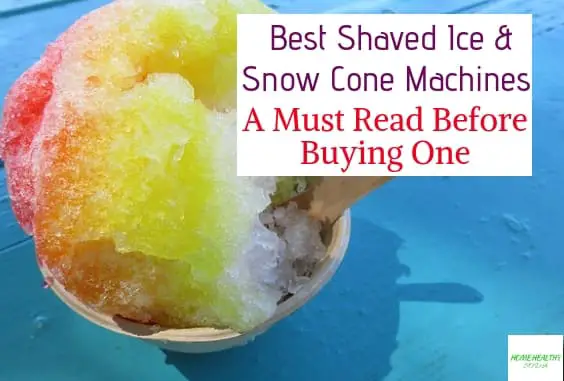
- If you are interested in buying a Shaved Ice or Snow Cone machine you can click here to read my recommendations.
Instructions on How to Make Chocolate Syrup
- Next, we can proceed to make your syrup.
- First, add one cup of water to your pot and bring it to a boil at medium-high heat.
- Once the water has started to boil add your sugar and your cocoa powder
- Then you add a pinch of salt.
- Now proceed to constantly whisk your mixture for 3-4 minutes until its the right texture
- If you stop whisking your syrup will burn and the syrup will bubble over and make a mess, so get those hand muscles ready.
- Finally, once it reaches a consistent texture turn your stove off and add a 1/2 tsp vanilla extract and let your syrup cool down completely
- Once cooled you can serve your syrup on top of you milky shaved ice or snow cone.
Notes on Chocolate Shaved Ice or Snow Cones Recipes
- You dont necessarily need to make milk shaved ice you can use regular ice if you want
- but I find the milk ice makes it taste really rich and yummy.
- If you have excess syrup left you can keep it refrigerated in the fridge for at least 3-4 months.
- This syrup all works really good as a topping on ice cream and other yummy treats.
13-Chocolate Snow Cones
When you have a shaved ice machine you tend to experiment a lot plus if you are like me with a lot of free time.
Ingredients:
- Cocoa Powder
- Milk
- Sugar
- The amounts will vary depending on how sweet you want it
- just pretend like if you are making a normal chocolate shake.
Instructions:
- The first thing you need to do is that you need to make chocolate milk
- Add your cocoa powder, milk, and your sugar to your blender and blend until all the cocoa has dissolved
- Next, fill your ice trays with the chocolate milk and refrigerate until frozen
- Finally, once your chocolate milk is frozen you can either blend it up or you can use your snow cone machine
- If you want you can add amazing toppings such Oreos, grated up chocolates or my personal favorite chocolate syrup.
14-Coffee Snow Cones
Ingredients:
- Two tablespoons of Instant coffee (I usually use Nescafe)
- Two tablespoons of sugar
- Two cups of Milk
Instructions:
- Blend your instant coffee, sugar, and milk together
- Then fill up your ice trays with your coffee and freeze in your refrigerator
- Finally once frozen you can either blend up your coffee cubes or add them to a shaved ice machine to made into snow cones.
Notes on Coffee Snow Cones
- You can adjust the amount of coffee used to suit how strong of a coffee flavor you would like
- Dont use brewed or boiled coffee to make this or it will be bitter, heat brings out the bitterness from the coffee
- Instead, rely on your blender and instant coffee.
All of these recipes are really good but they do take some amount of time to prep if you are interested in enjoying snow cones or shaved ice without too much work you can click to check out my articles on Best Syrups for Snow Cones and Shaved Ice.
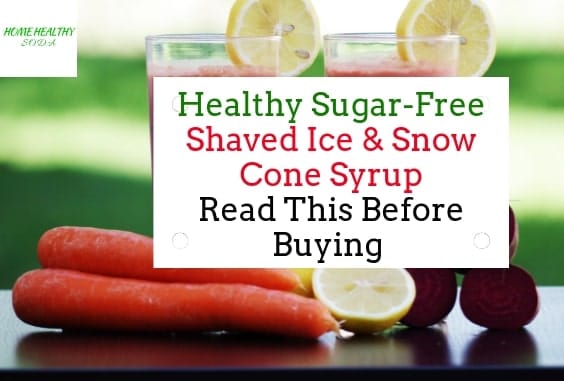
You can also click to see my recommended Sugar-free Syrups.
If you want to learn how to make the ice for Shaved Ice or Snow Cones for that you can click to read my 4 best and easiest methods to shaved ice, where I talk about how to make amazing fluffy shaved ice.